
Have you experienced the art of zentangle? Well, have you zentangled a turkey?
Zentangle is a form of art therapy practice that develops creativity, focus and problem solving skills while also enhancing relaxation and mindfulness. This method of creating structured designs is enjoyed across a wide range of skills, interests and ages all over the world.
Somewhat similar to the practice of zentangle, the “metal inset” activity of the Montessori educational model prepares the young children for writing (proper pencil grip, pressure, etc) while developing focus and mindfulness. This structured Montessori practice allows very young children (as young as 2-3 years old) to develop fine motor coordination, concentration, and independence.
Here are a few ways to “metal inset” (ages 3+) or to “zentangle” (ages 6+) a turkey. These projects are appropriate for preschoolers through elementary age children and up. They combine the art of complex drawing and pattern creation with Thanksgiving-themed crafting.
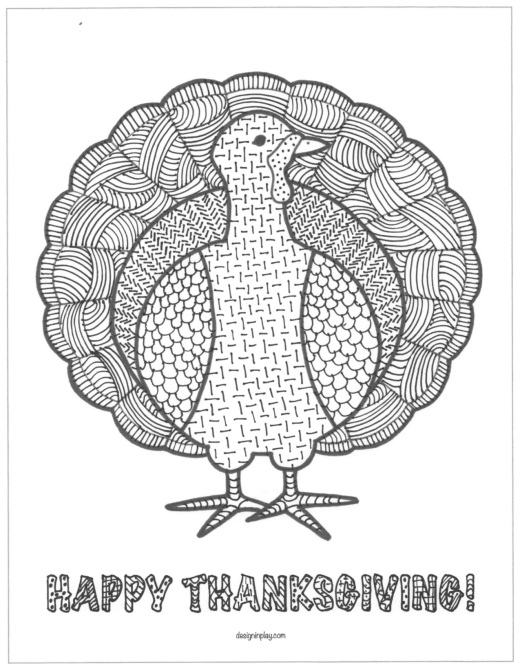
Zentangle Turkey Pattern Making Sheet
This Thanksgiving-themed activity can be as simple or as complex as you make it by following the interest and ability level of the child.
Supplies:
- Turkey Coloring Sheet(s) – Turkey 8×10 or Turkey 11×17
- Color pencils or markers for basic coloring and pattern making for young children (age 3+)
- Fine tip makers or color pencils to create zentangles and patterns for more challenging line work for older children (age 6+).
- Simple Patterns and/or Complex Patterns (for inspiration!)
Instructions:
- Print out the turkey pattern-making sheets.
- Turkey 8×10 is formatted to print on standard typing paper.
- Turkey 11×17 is formatted to print on 11″x17″ (“tabloid paper”) for making Thanksgiving Day activity placemats.
- Color or decorate the “feathers” and “body” using the sample patterns or create your own.
Zentangle Turkey Craft

Supplies:
- Cardboard toilet paper tube
- Card stock
- Colored construction paper in variety of colors
- Googley eyes
- Glue
- Scissors
- Turkey Template
- Simple Patterns and Complex Patterns
Instructions:
- Print the Turkey Template on card stock (or paper) and cut out shapes.
- Wrap the turkey body template around the toilet paper tube (as shown above) and trace outline. (If printed on yardstick and only making one turkey, you can use the template itself for the turkey body.)
- Cut out turkey and fold down head and wings (as shown in center photograph above).
- At base of tube add feather pattern (“u” shapes) as shown on Simple Patterns.
- Using remaining templates and construction paper, trace and cut out feather, beak and waddle.
- Wrap tip of “beak” with construction paper “beak” (as shown above) and apply glue. Attach construction paper waddle.
- Using feather template trace and cut out 5 feathers of assorted colors.
- Decorate the individual feathers with Simple Patterns and/or Complex Patterns.
- Fan out tail feathers as shown below and tape backs together to create “fan.”
- Glue tail feather fan and googley eyes to body and allow to dry completely.
Looking for more seasonal actives? Make Fall Faces by adding a bit of personality to your pumpkins and gourds, create Watercolor Leaves with simple pigment mixing techniques, and use texture to reveal a Metallic Leaf Relief.

Pingback: Beyond Coloring | Design in Play